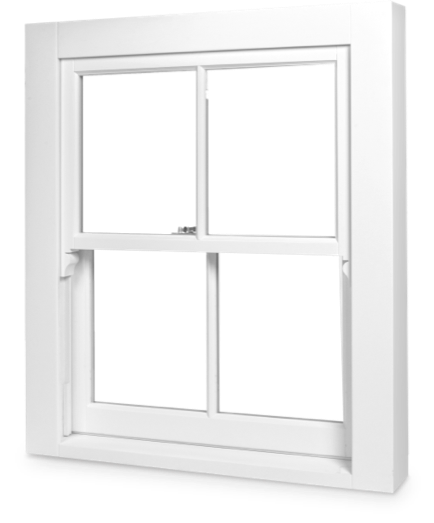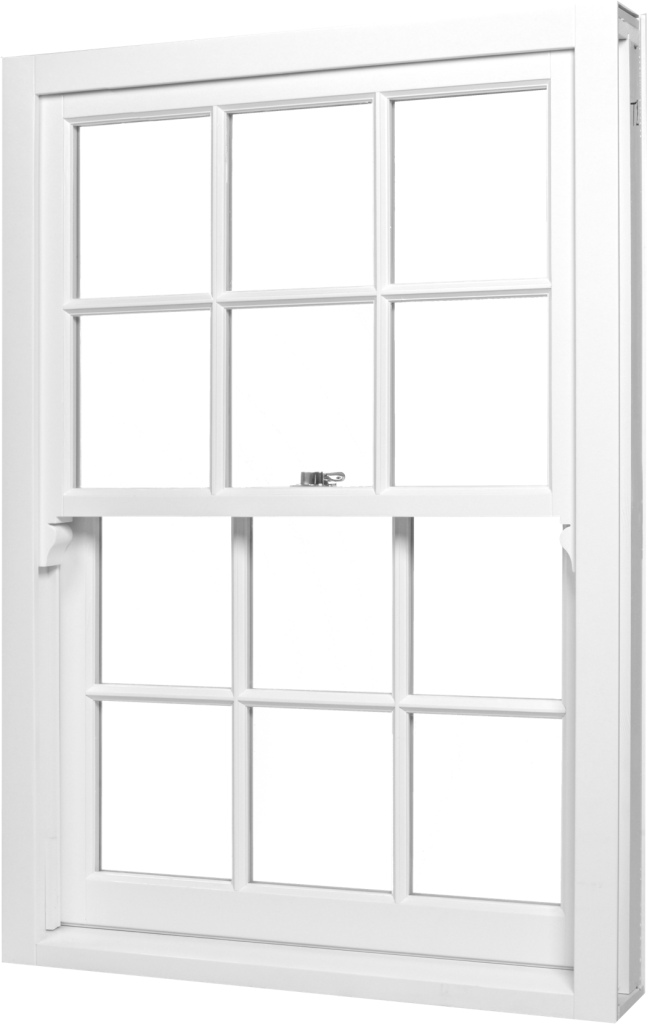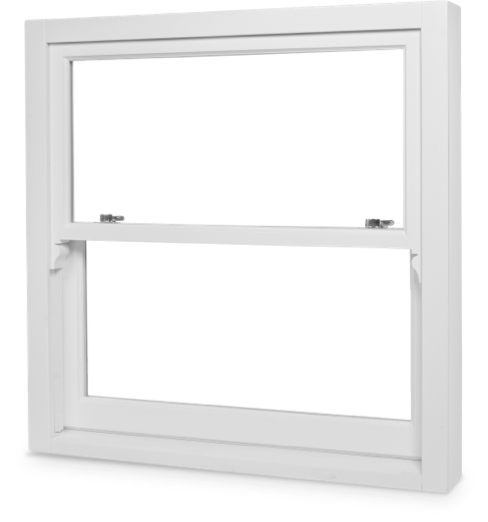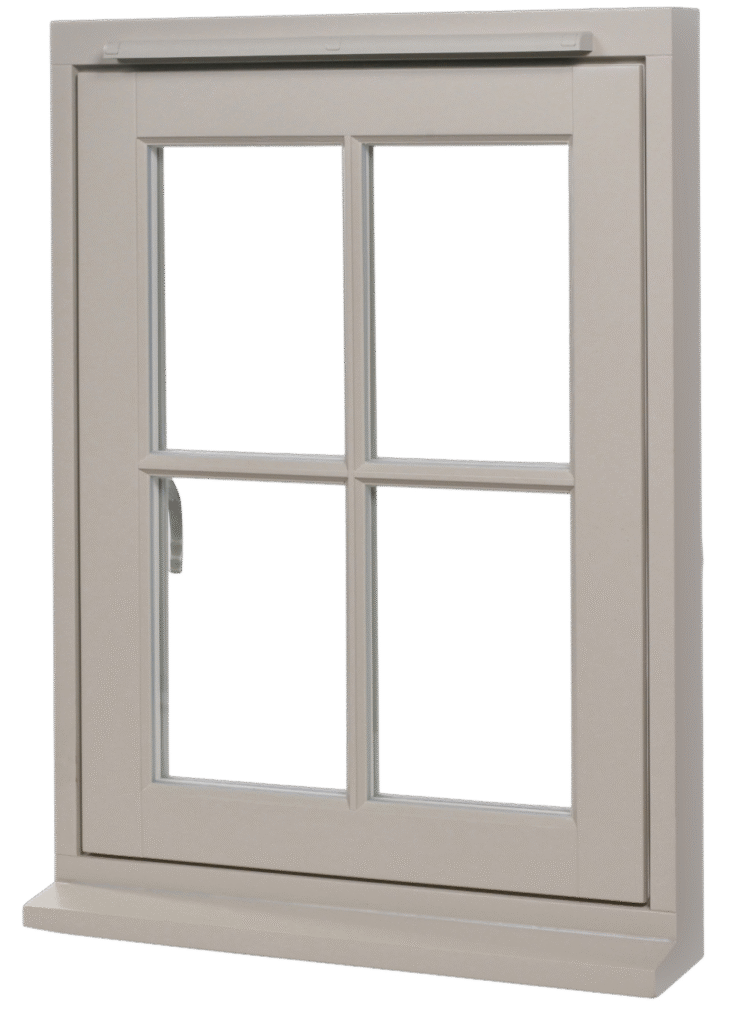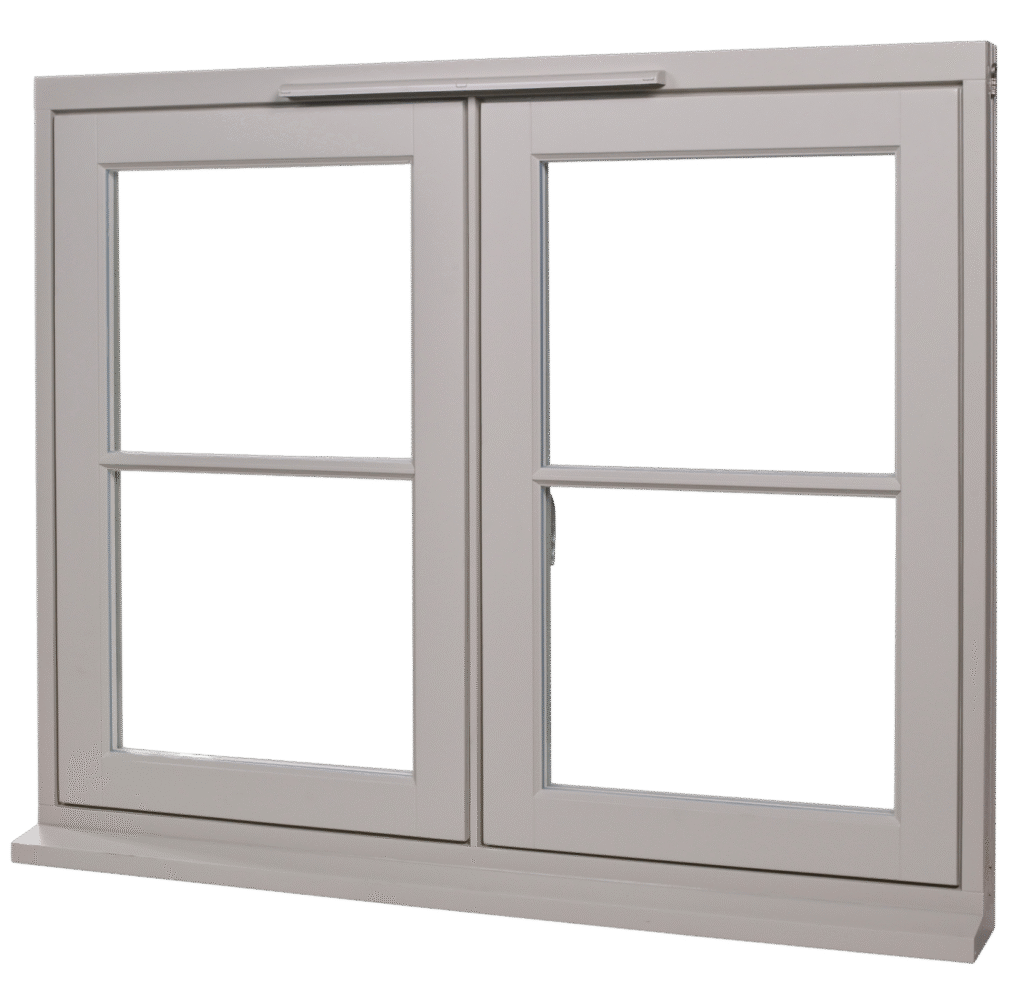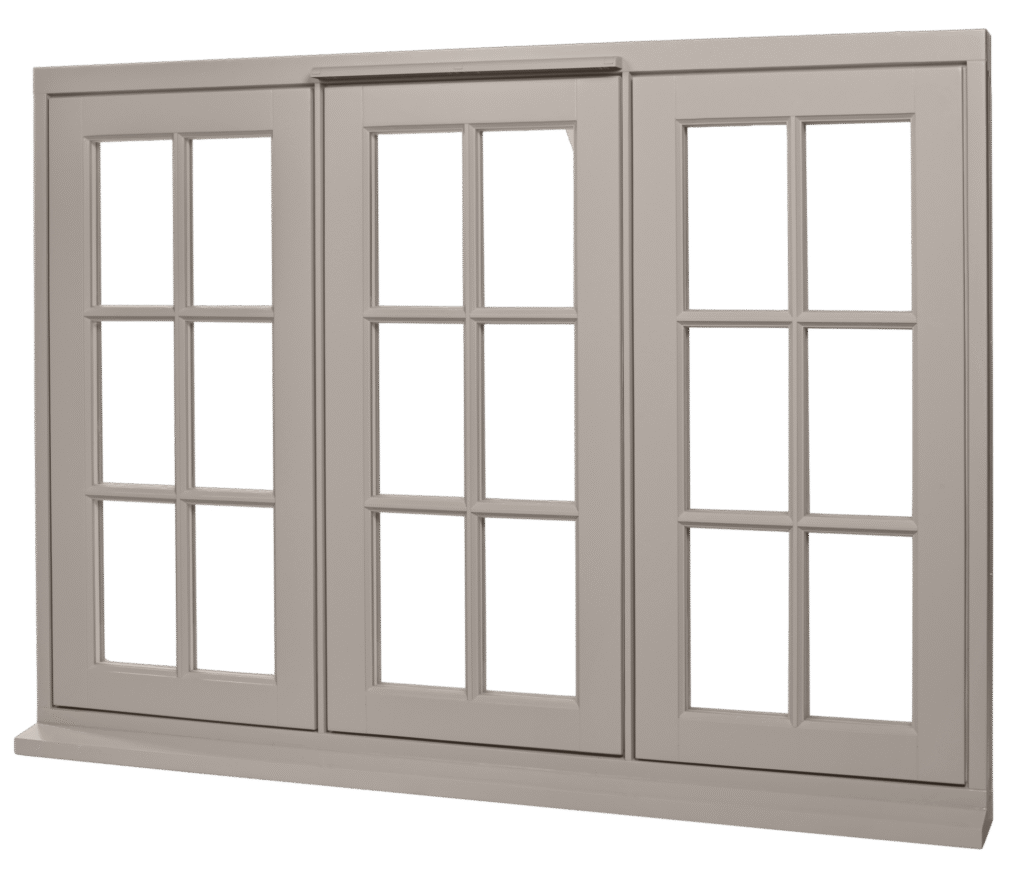
A timber window is only as good as its last coat of paint. Get the finish right and the joinery lasts for generations.
We factory-finish every window we supply, so we spend a lot of time thinking about paint. A controlled factory coat is the most durable finish a timber window can have. But paint doesn’t last forever, and years down the line a recoat keeps the joinery sound. This guide shares how we approach painting timber windows, and how you or your decorator can get a professional result at home. The same steps apply to timber windows and doors alike.
We supply the joinery and its finish. We don’t paint on site. When your windows need refreshing, you or your decorator carries out the work, and we can supply colour-matched paint and the original specification to make it easier.
What You’ll Discover in This Article
- How to prepare and sand a timber window properly
- Which primer and paint suit exterior wood
- Why microporous paint matters for timber windows
- The application technique that gives a lasting finish
- When to repaint, and when to call a decorator
Why the Finish Matters
Paint isn’t decoration on joinery. It’s the barrier that keeps water out and the wood stable.
Protection First
A sound paint film stops moisture reaching the timber. Once water gets in, the wood swells, the joints move, and rot follows. Water is the enemy. A sound finish is far cheaper than new joinery.
Appearance Second
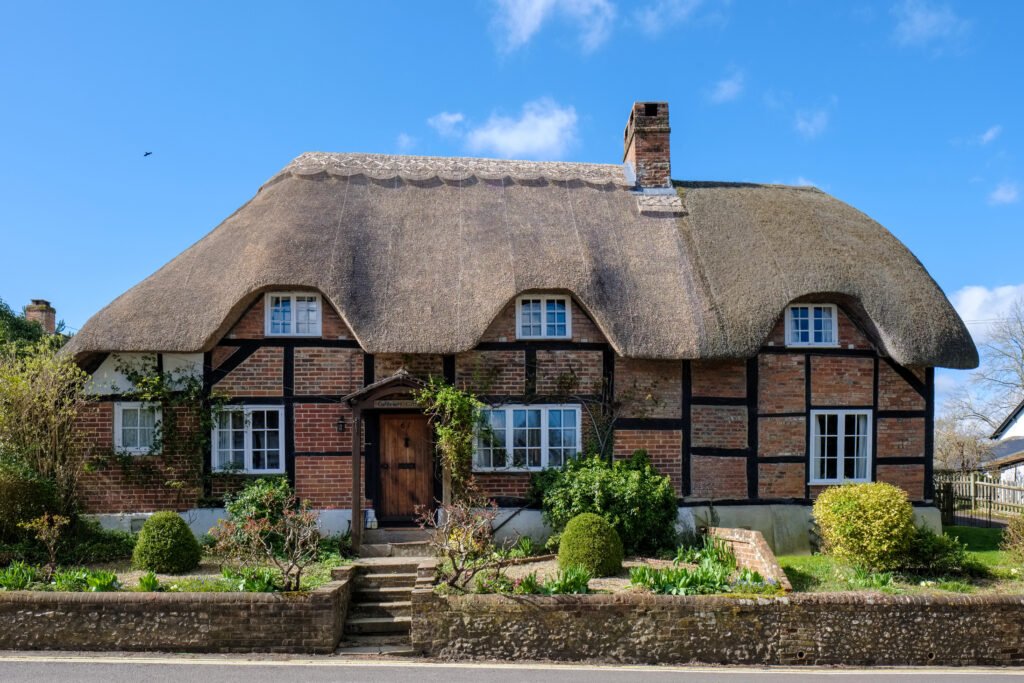
Paint is what protects them from the elements, and a crisp, even finish is what makes period joinery look right. A tired, flaking frame drags down the whole elevation, however good the window beneath it.
How Often to Refresh
A quality exterior finish on timber typically lasts 8-10 years before it needs attention, and longer on sheltered elevations. Check yours each spring and touch up early. A frame checked yearly rarely needs more than a quick touch-up.
Preparation Essentials
Most paint failures start with poor preparation, not poor paint. This is where the work is won or lost.
Surface Assessment
Start by checking the whole window frame. Look for flaking paint, bare wood, cracked filler, and any soft spots that signal rot. A screwdriver tip tells you quickly whether the timber is sound. Inspect every joint and rail. Take your time here. Missed rot means wasted effort.
Cleaning
Wash the frame with sugar soap to lift dirt, grease and salt from the painted surface, then rinse and let it dry fully. A clean, dry surface is non-negotiable. Paint won’t bond to a dirty or damp surface. This step takes minutes and saves hours.
Sanding Technique
Sand back loose paint and glossy areas to a key, working along the wood grain with medium then fine sandpaper. Feather the edges of sound paint for a smooth finish, so no ridges show through. Wipe off all dust before you prime.
Filling and Repairs
Fill cracks and small holes with a flexible exterior wood filler, and treat any minor decay with a wood hardener before filling. Sand the filler flush once it’s cured. Deep rot is a job for new joinery, not filler.
Priming and Sealing
Bare wood needs sealing before it sees a topcoat. Skip this and the paint peels within a season.
Priming Bare Wood
Any bare timber must be primed. A good wood primer seals the surface and gives the topcoat something to grip. Never skip it to save time. It does the real work. We favour a quality acrylic or oil-based primer over cheap own-brands, because the undercoat is doing the hard work.
Knots and Resin
Knots bleed resin that stains and lifts the paint. Seal them with a knotting solution such as Zinsser before priming, or they’ll telegraph through the finish within months.
End Grain and Joints
End grain drinks water, so seal it well. The bottom rail and cill are where most rot starts, and an extra coat of sealer there pays off for years. Work it into the joints too. It’s a five-minute job that saves a rail.
Choosing the Right Paint
The type of paint you choose decides how long the finish lasts, and how the timber behaves underneath.
Exterior versus Interior
Paint exterior joinery well and it lasts. Exterior window paint is formulated to flex with the timber and resist UV and rain. Never use interior emulsion on the outer frame. Interior wooden frames can take a hard-wearing eggshell or satinwood instead.
Why Microporous Matters
Microporous finish lets the wood breathe, allowing moisture vapour out while keeping liquid water off. On joinery this is the difference between a finish that flexes and one that cracks. That breathability is the single biggest reason a well-finished window outlasts a neglected one. Systems like Sikkens and Dulux Trade Weathershield are built around it.
Water-Based versus Oil-Based
Modern water-based systems stay flexible, hold their colour, and are fast-drying. Traditional oil-based gloss paint gives a hard shine but yellows and grows brittle over time. For exterior wood, we lean water-based every time.
Colour and Finish
Lighter colours reflect heat and move less than dark ones, which absorb it and stress the paint. A colour matched to a Farrow & Ball, RAL or BS reference keeps a period scheme consistent. We keep our clients’ colour on file for exactly this reason.
Application Technique
With the preparation done, the painting itself is straightforward, provided you respect the basics.
Brush or Spray
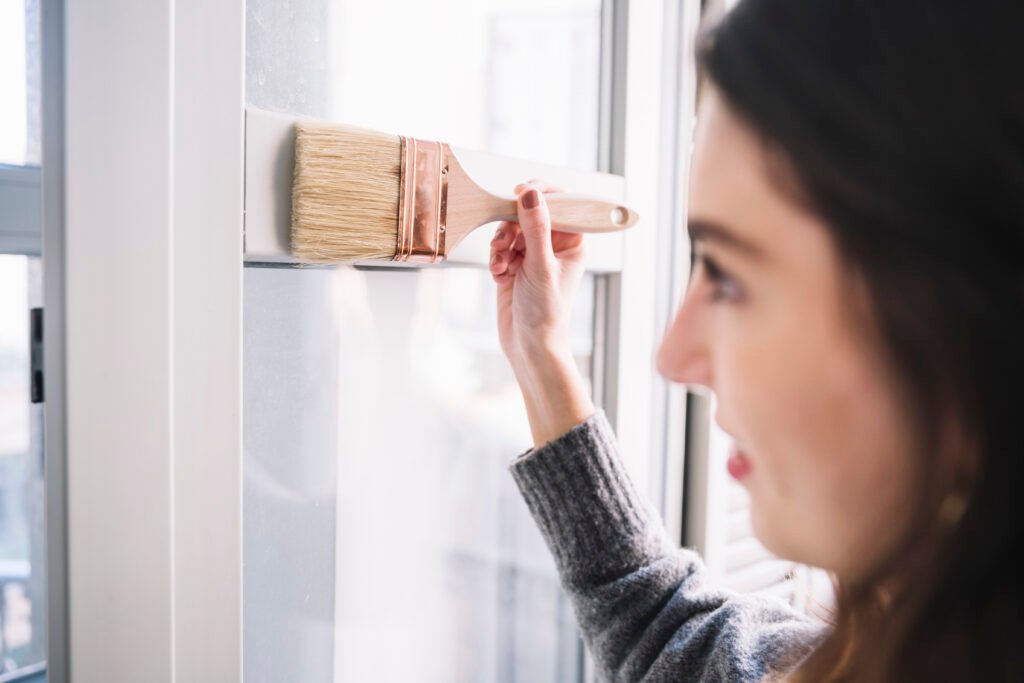
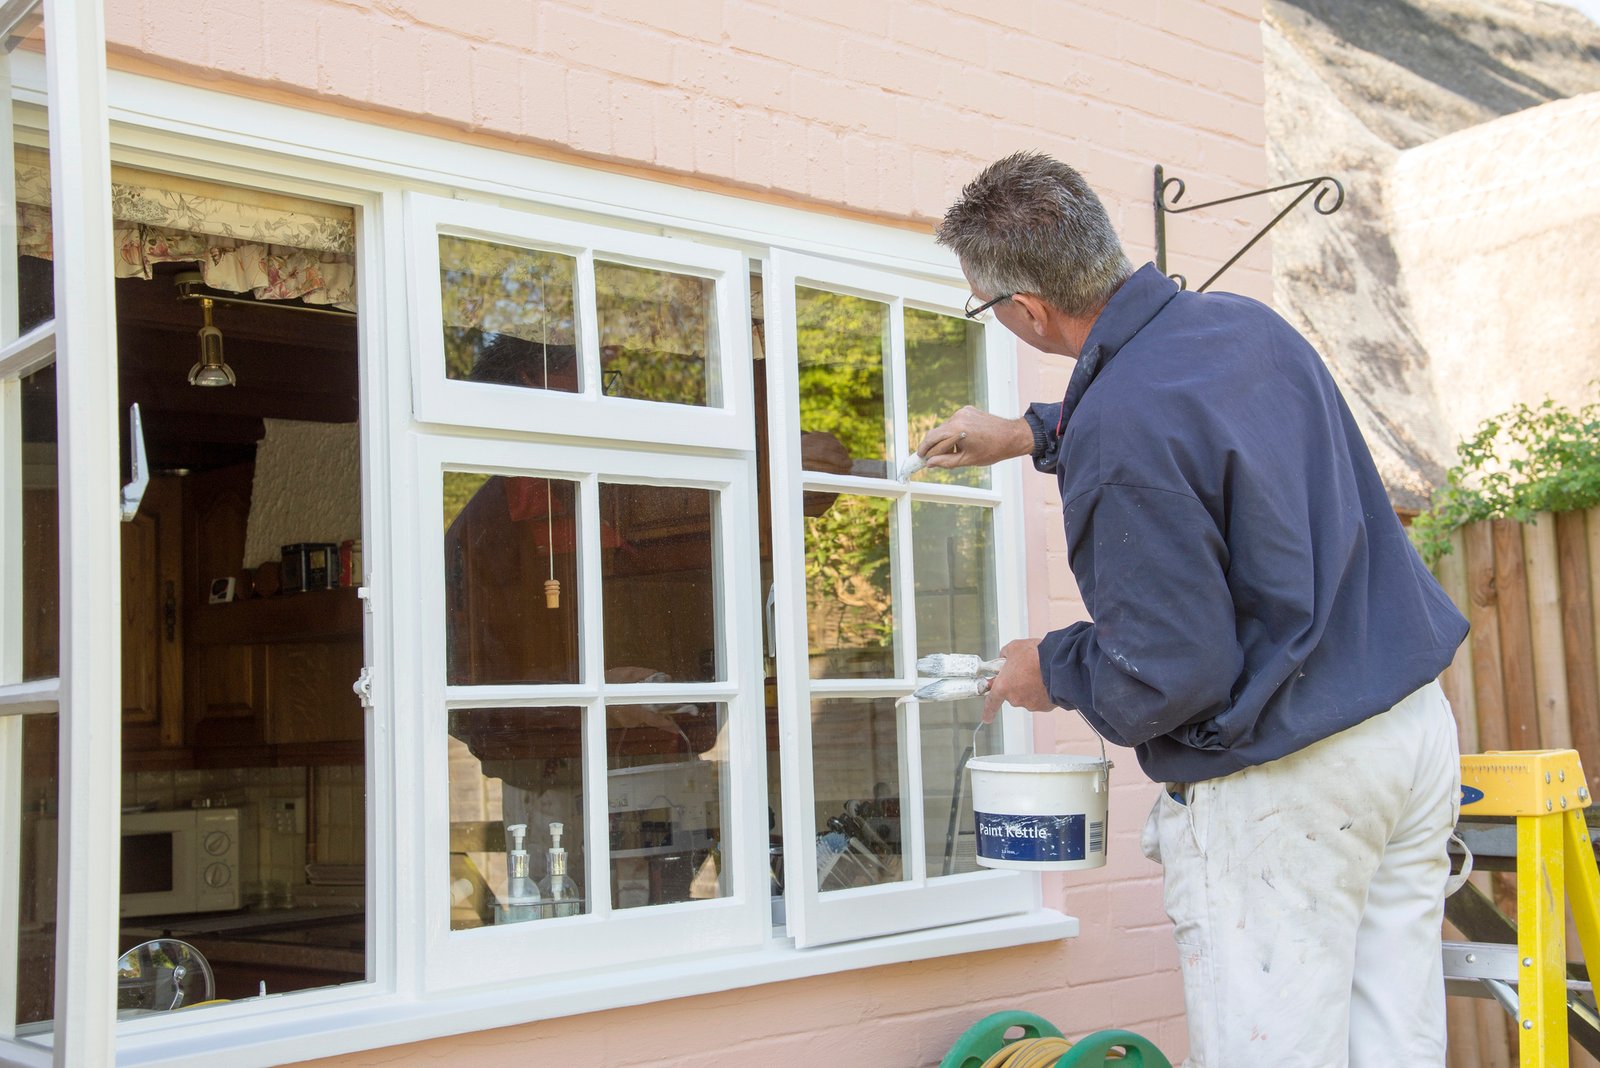
A good synthetic brush gives control and a fine finish on glazing bars and mouldings. Spraying is faster on large flat areas but needs careful masking. Most repaints are best done by brush. A steady hand beats an expensive brush every time.
Number of Coats
Build the finish in thin coats: apply the first coat of primer, then a second coat of colour, then a third if it needs it. Two coats outlast one thick coat every time, because thick paint skins over and stays soft underneath.
Masking and Glass
Mask the glass edge with tape and take a whisker of paint onto the glass pane to seal the putty line. Remove the masking tape while the finish is still slightly wet for a clean edge.
Drying and Recoat Times
Let each coat dry fully before the next, following the tin’s recoat time, usually a few hours for water-based finish. Rushing the recoat traps solvent and spoils the finish.
Common Mistakes
The failures we see most often come down to a handful of avoidable errors.
Skipping Preparation
Painting over flaking finish or bare wood is the commonest mistake. The new layer simply lifts with the old. Preparation is most of a lasting finish.
The Wrong Products
Interior paint used outside, no undercoat on bare wood, or a bargain finish with poor UV resistance all fail early. Buy the right system and use it as the maker intends. There are no shortcuts here.
Painting in Poor Weather
Don’t paint in the rain, in direct midday sun, or below about 8°C. Damp or cold traps moisture and stops the finish curing. Late spring and early autumn are ideal.
Too Few Coats
One coat over sealer never lasts. Skimping here is a false economy that shows within a year or two.
DIY or a Decorator?
Repainting joinery is within reach of a careful DIYer, but not every job suits it.
When to DIY
Ground-floor windows in sound condition make a reasonable weekend project. With good preparation, the right materials, and patience, the result can be excellent. It’s satisfying work, too.
When to Bring In a Professional
Upper-floor windows, extensive rot, or a whole heritage elevation are better left to an experienced decorator or joiner. Access and consistency matter more than people expect. A good decorator brings the right equipment and a steady hand, and earns the fee on a difficult elevation.
Factory Finish versus Site Painting
This is where we come in. A factory-applied finish is cured under controlled conditions and lasts far longer than a layer brushed on in the cold. For new joinery, a factory finish is always the better start.
The Cost Picture
A tin of quality exterior paint runs £30-50, plus undercoat, filler and sundries. A decorator for a full house of sashes might charge £1,500-3,000, depending on access and condition. Sundries add perhaps £40-60. Even so, it’s cheap insurance for the joinery.
Case Study: Repainting in Bristol
A client in Bristol came back to us eight years after we’d supplied a set of engineered redwood sash windows for their Edwardian terrace. The south-facing units were due a refresh, and they wanted to match the original colour exactly.
We supplied a colour-matched finish from their specification on file, along with the guidance below. Their decorator did the work over a long weekend, giving the wooden window frames a fresh coat.
The approach:
- Gave the sound paintwork a light sand, then spot-primed the bare patches
- Sealed two small knots that had started to bleed
- Applied one layer of undercoat to bare areas, then two topcoats of microporous exterior paint
Project notes:
- Original joinery supply: £5,400 (6 sash windows, supplied 2018)
- Colour-matched paint supplied: £95 for the set
- Decorator’s time: 2 days
- Finish expected to last: 8-10 years
- North elevation: original factory finish still sound, untouched
The owner was struck that the north-facing windows, sheltered from sun and rain, hadn’t needed touching at all. The south side simply took the weather. Eight years on, the joinery showed its age only where the southern sun had reached it. A quick refresh, and it was good for another decade.
Frequently Asked Questions
How often should I recoat wood joinery?
–
+
A quality exterior finish lasts around 8-10 years, and longer on sheltered elevations. Inspect each spring and touch up early. Catching a small failure quickly saves a full strip-back later on.
What’s the best paint for timber windows?
–
+
A microporous exterior wood finish, water-based, from a system like Sikkens, Sadolin or Dulux Trade Weathershield. Microporous paint lets the joinery breathe while keeping water out, which is exactly what the sashes need.
Do I need to prime bare wood?
–
+
Yes, always. Bare wood must be primed so the topcoat bonds and the surface is sealed. Seal any knots with a knotting solution first, or they’ll bleed through the finish within months.
Can I paint over old paint?
–
+
Only if it’s sound. Sand back flaking or glossy areas to a key, feather the edges, clean off the dust, and spot-prime any bare wood. Painting over loose paint just means the new layer lifts with the old.
Should I paint the joinery myself or hire a decorator?
–
+
Ground-floor windows in good condition suit a careful DIYer. Upper floors, heritage elevations, or windows with rot are better left to a professional. For new joinery, a factory finish outlasts any site paint.
Conclusion
Painting wood joinery well is mostly about preparation and patience. A sound surface, the right sealer, a quality microporous finish, and two thin topcoats in good weather will give you a finish that protects the joinery for years. Cut corners on preparation and no finish will save you. Look after the finish, and the wood looks after you.
If your windows are sound, a refresh every decade keeps them going almost indefinitely. If the frame has gone beyond paint, with soft rails or failed joints, it’s time to talk about replacement joinery rather than more filler. You can browse our range of timber windows to compare, or explore engineered softwood and hardwood options.
Request a free quote today and we’ll help you specify the sashes with a factory finish built to last, and keep your colour on file for every future recoat.
Our Best-Selling Timber Windows: